Our first Carry of the Week is Front Wrap Cross Carry, or FWCC. This is a great beginner carry, and has multiple variations so you are sure to find a variation you love. These variations also allow for different sized wraps to be used, which is great if you are a beginner with only one wrap, or an expert with a variety of wraps in different sizes. If you have never used a woven wrap, FWCC is a great place to start.
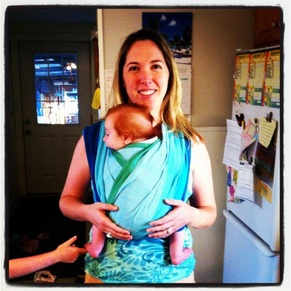
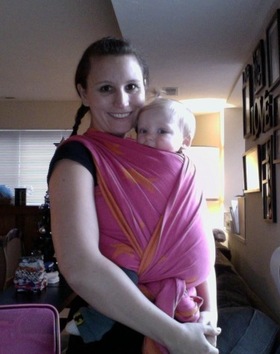
Below, you will find our video tutorials, as well as a written tutorial, along with photographs of our babies wrapped in Front Wrap Cross Carry. Hopefully all of these together will help you to become more comfortable doing a FWCC over the next two weeks. We know you will find a variation of FWCC that you love! We hope you will try them all over the next two weeks! Please post pictures of your FWCC on Instagram and Twitter using #weecarrycotw so we can see your progress!
Please subscribe to our RSS feed to receive Carry of the Week updates, and to be notified of new Carry of the Week posts every two weeks! Please feel free to add questions and tips in the comments at the bottom of the page! Every babywearer appreciates tips and tricks to improve their carries!
Wee Carry Video Tutorials
| | |
Wee Carry Written Tutorial
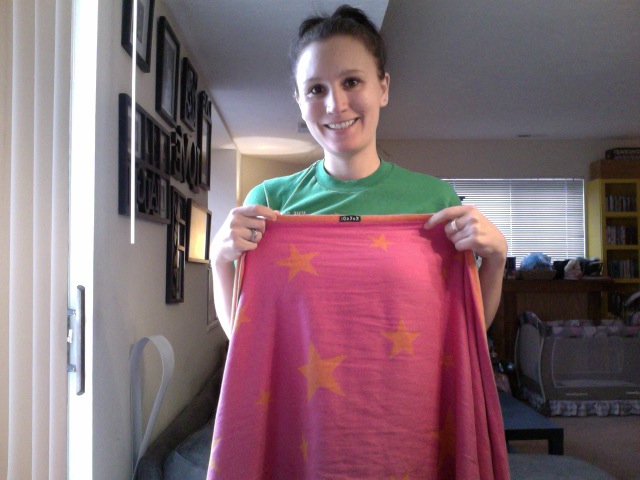
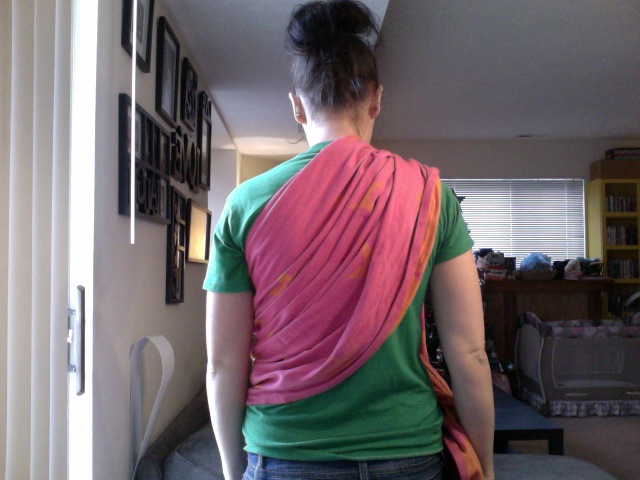
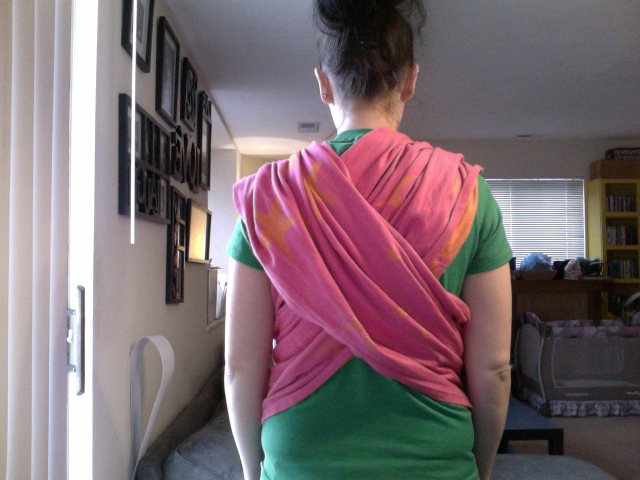
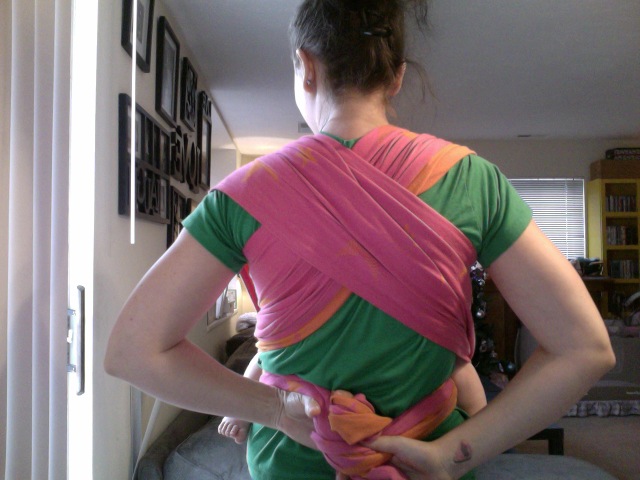
FWCC begins with the middle marker at the center of the wrap at your chest. You then take the right side of the wrap and cross it under your arm, behind your back, and over your left shoulder.
Take the left side and cross it under your arm, behind your back, and over your right shoulder. You should now have two long tails hanging down over your shoulders with a pass running horizontally across your chest/stomach underneath the tails.
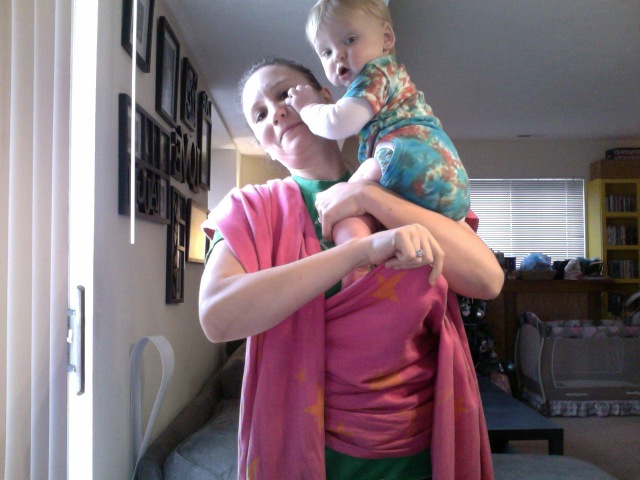
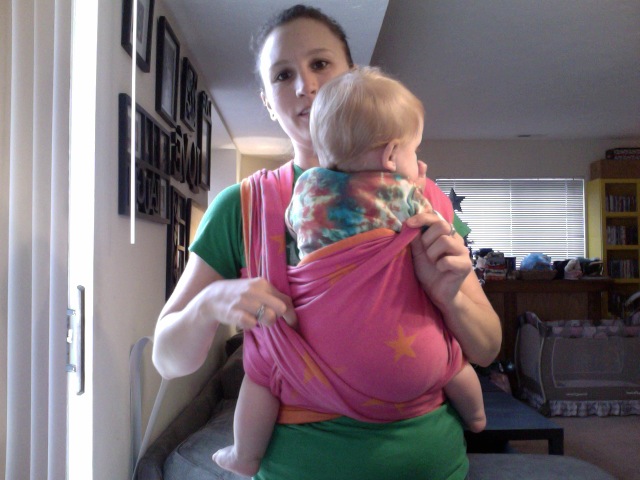
Putting your baby high onto your shoulder, place his/her feet into that horizontal pass and pull them through the bottom, then pull the top of that pass up over baby's shoulders.
With baby's feet hanging out, you can now pull the excess fabric up between baby's legs and sandwich it between your bellies, creating a "deep seat" to hold your baby. This seat should extend from knee to knee, pulling baby's knees up higher than his/her bottom and wrapping baby's legs around your body (Younger babies will keep their legs more in front of their own body rather than wrapping around. This is okay.).
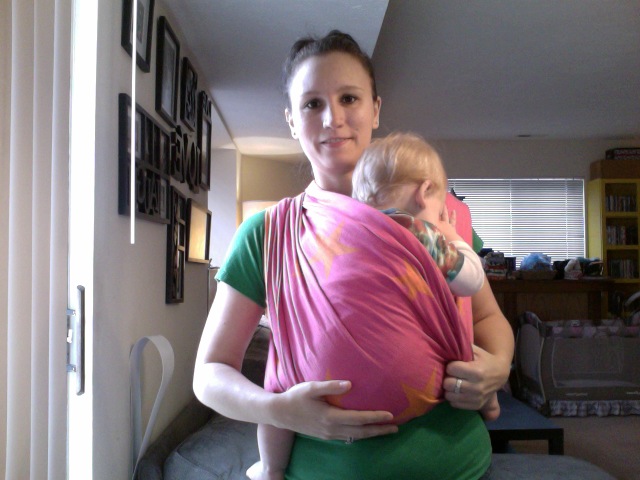
Now you will tighten the wrap around your baby. Pulling the inside rails, closest to your neck, will tighten the top rail around baby's neck and shoulders. Pulling the outside rails, closest to your shoulders, will tighten the pass under baby's bum and will help to raise the knees above the bottom.
I like to tighten "strand by strand" which means pulling the top rail tight, then the center section of wrap, followed by the bottom rail. I also tighten one side completely and hold it in my hand, then move to the other side.
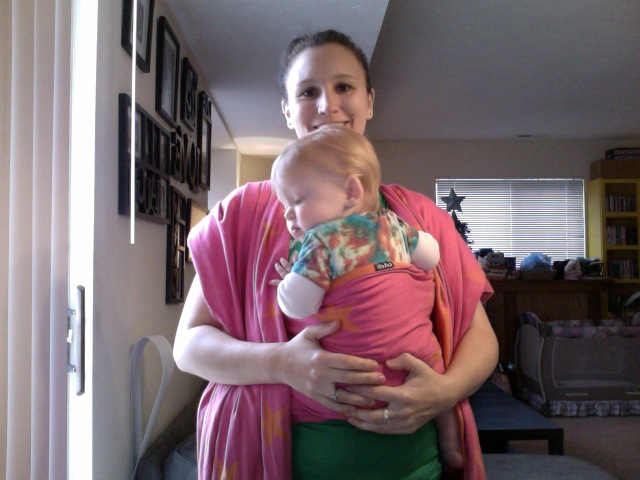
Once both sides are tight, you can grab the tails and stretch your arms above you making a Y shape to pull everything just a little tighter, bouncing to get baby seated well. If you have a short wrap, you can tie under baby's bottom securely, and you are all finished.
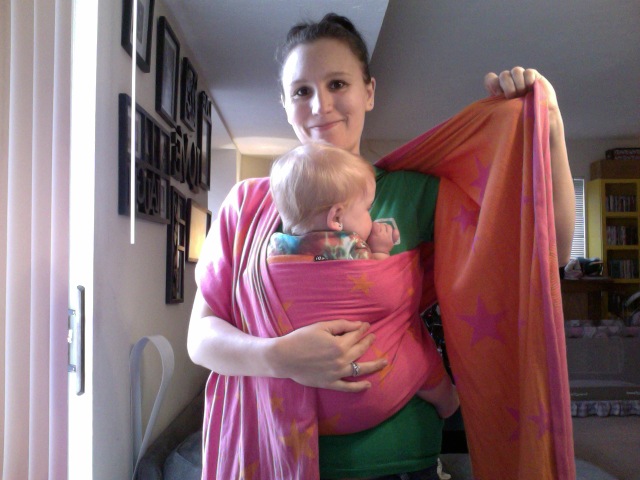
If you have a longer wrap, you then cross your tails under baby's bottom, and then pass them under his/her legs, pulling the tails around to your back. You may tie at the back, or if your wrap is long enough you may cross the tails behind your back bringing the wrap back to the front and tie there.
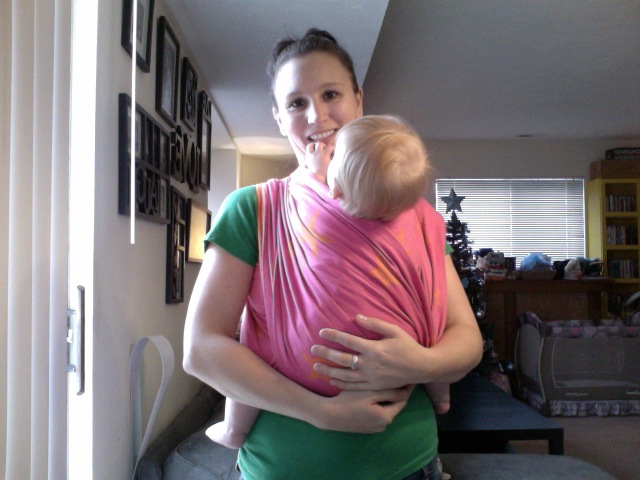
Variations include the three different ways to tie off mentioned in the tutorial. You can tie a short wrap directly under baby's bum once the wrap is tightened snugly around baby.
This is a great carry if baby is going to sleep because you can very easily pull a fabric pass over baby's head for extra support and carry on with your daily tasks, or untie and lay baby down without disturbing him/her much.
You can tie a medium length wrap at your back, and you can bring a long wrap back around to the front tying at your belly.
Other variations include:
~Newborn baby modifications: With a newborn you may want to keep baby's legs tucked in the wrap and "froggied". Also, for extra head support you can take a burp cloth or any towel and roll it up inside the top rail behind baby's head. This extra padding gives the needed support a young baby lacking adequate head control needs to safely be carried.
~Sandwiching your wrap at your shoulders - Pulling the bottom rail underneath the wrap to meet the top rail so it is now folded in half. This makes for a thicker, less "diggy" carry.
~Twisting the wrap just below your shoulders -Twisting your wrap, just below your shoulders, at chest level, is a great way to ensure that baby is getting proper ventilation. It neatly keeps the wrap away from baby's face.
~Spreading your cross passes - Rather than just crossing your bunched wrap under baby's bottom, you can spread the wrap out to completely cover baby for extra support. For this method, once you have tightened the wrap around baby, you can hold one side in your hand to maintain tension, then take the other side and spread across baby from knee to knee, tucking any excess under baby's bottom for extra support. Pull nice and tight and run it under baby's opposite knee. Take side two and repeat. Then pull around to your back and tie, or cross in back and tie in front.
Take the left side and cross it under your arm, behind your back, and over your right shoulder. You should now have two long tails hanging down over your shoulders with a pass running horizontally across your chest/stomach underneath the tails.
Putting your baby high onto your shoulder, place his/her feet into that horizontal pass and pull them through the bottom, then pull the top of that pass up over baby's shoulders.
With baby's feet hanging out, you can now pull the excess fabric up between baby's legs and sandwich it between your bellies, creating a "deep seat" to hold your baby. This seat should extend from knee to knee, pulling baby's knees up higher than his/her bottom and wrapping baby's legs around your body (Younger babies will keep their legs more in front of their own body rather than wrapping around. This is okay.).
Now you will tighten the wrap around your baby. Pulling the inside rails, closest to your neck, will tighten the top rail around baby's neck and shoulders. Pulling the outside rails, closest to your shoulders, will tighten the pass under baby's bum and will help to raise the knees above the bottom.
I like to tighten "strand by strand" which means pulling the top rail tight, then the center section of wrap, followed by the bottom rail. I also tighten one side completely and hold it in my hand, then move to the other side.
Once both sides are tight, you can grab the tails and stretch your arms above you making a Y shape to pull everything just a little tighter, bouncing to get baby seated well. If you have a short wrap, you can tie under baby's bottom securely, and you are all finished.
If you have a longer wrap, you then cross your tails under baby's bottom, and then pass them under his/her legs, pulling the tails around to your back. You may tie at the back, or if your wrap is long enough you may cross the tails behind your back bringing the wrap back to the front and tie there.
Variations include the three different ways to tie off mentioned in the tutorial. You can tie a short wrap directly under baby's bum once the wrap is tightened snugly around baby.
This is a great carry if baby is going to sleep because you can very easily pull a fabric pass over baby's head for extra support and carry on with your daily tasks, or untie and lay baby down without disturbing him/her much.
You can tie a medium length wrap at your back, and you can bring a long wrap back around to the front tying at your belly.
Other variations include:
~Newborn baby modifications: With a newborn you may want to keep baby's legs tucked in the wrap and "froggied". Also, for extra head support you can take a burp cloth or any towel and roll it up inside the top rail behind baby's head. This extra padding gives the needed support a young baby lacking adequate head control needs to safely be carried.
~Sandwiching your wrap at your shoulders - Pulling the bottom rail underneath the wrap to meet the top rail so it is now folded in half. This makes for a thicker, less "diggy" carry.
~Twisting the wrap just below your shoulders -Twisting your wrap, just below your shoulders, at chest level, is a great way to ensure that baby is getting proper ventilation. It neatly keeps the wrap away from baby's face.
~Spreading your cross passes - Rather than just crossing your bunched wrap under baby's bottom, you can spread the wrap out to completely cover baby for extra support. For this method, once you have tightened the wrap around baby, you can hold one side in your hand to maintain tension, then take the other side and spread across baby from knee to knee, tucking any excess under baby's bottom for extra support. Pull nice and tight and run it under baby's opposite knee. Take side two and repeat. Then pull around to your back and tie, or cross in back and tie in front.
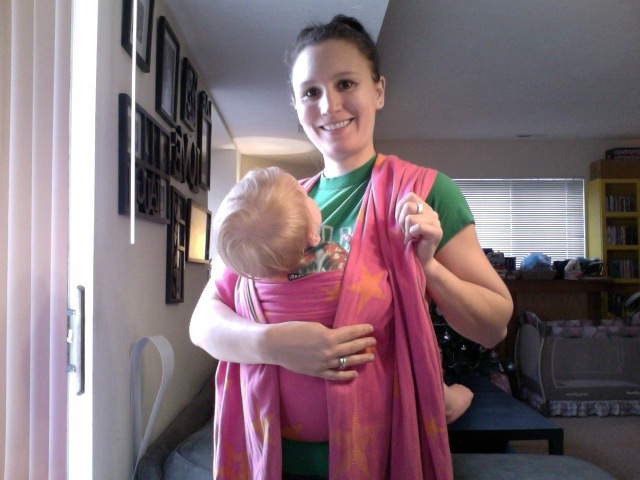
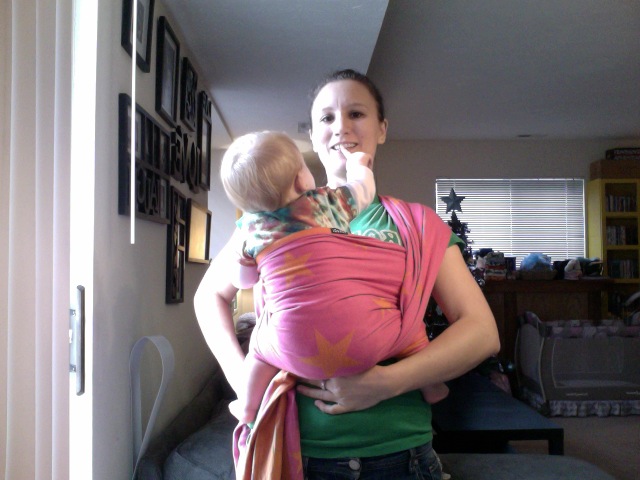
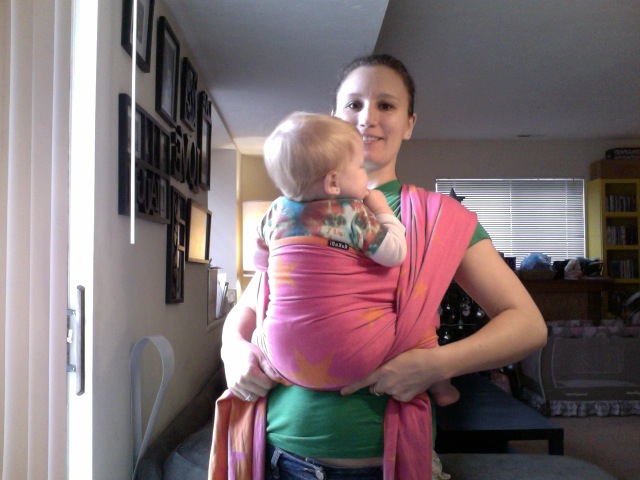
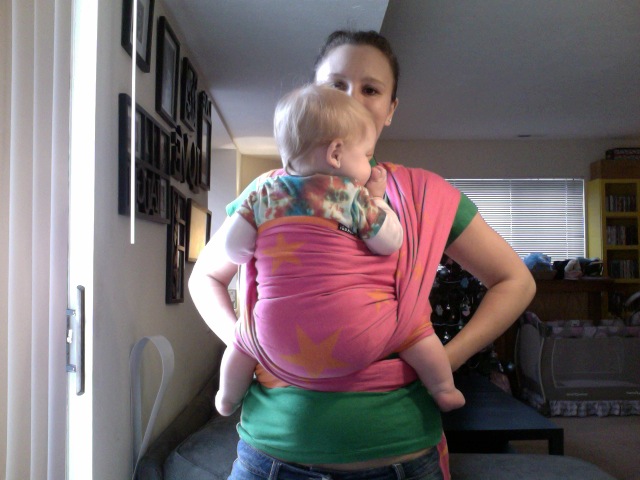
Wee Carry Photo Tutorial
Click on the images below to see the full size photos with step-by-step instructions.


Pinterest Album - Carry of the Week #1 - FWCC
FWCC Variations
FWCC Tied Under the BumFWCC Tied at the ShoulderFront Carry With a Ring Waist Wrap Conversion Mei Tai | FWCC with a Mei TaiFWCC with a Stretchy Wrap |
 RSS Feed